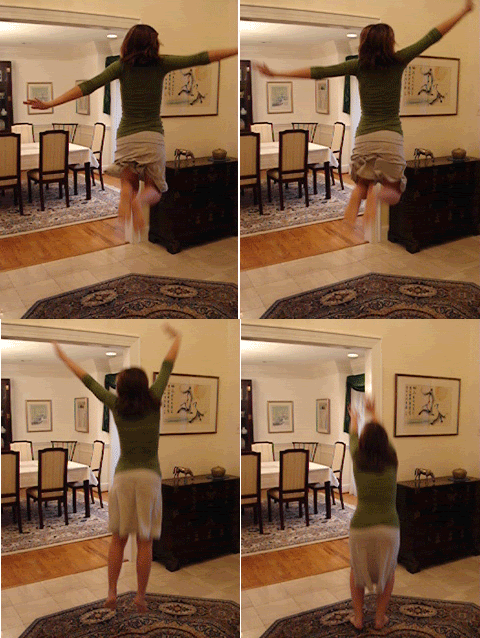
 I learned to create an animated gif today. Thanks Corrina! Also thanks to my sister for bringing me a Bangkok street version of Photoshop for mac (and for all the other thai treats – I am still loving the green tea chewing gum).
Here is an incomplete set of instructions – we started with a multi-burst pic that we opened in Photoshop:
1. Cut the images apart to create a different layer for each shot. First you need to create a grid over the pictures.
a. Open Apple + R to show (or not show) the ruler alongside the image.
b. Hit V for the move tool. Use it to create a grid over the pic outlines you want to cut by pulling down the ruler.
c. Hit Z for the zoom tool. Use it to check that each grid intersection is aligned with the photo intersections.
*Use Open Apple + 0 (the numeral) to make it fill screen.
*Make sure Feather is at 0 px.
2. Cut the pictures and create a new layer for each image.
a. Use the marquis tool (marching ants) to outline eachimage you want to cut.
b. When you have the image, click Layer -> New -> Layer via cut. Repeat for each image.
3. Crop everything else off by highlighting all the images you are using and clicking Image -> Crop. Use Open Apple + D to make the marching ants go away.
4. Grab and stack each of the images on top of the last image.
5. Trim away any white area by either using Image -> trim or Image -> crop
6. Get yourself into the ImageReady program, which is the colorful bottom-most icon on your photoshop tool belt.
7. Go to Window -> animation. A small animation bar will appear at the bottom of your screen. Now you have to create each animation window.
a. Keep your white background and first image selected. Deselect all the other images. click the copy image icon in the animation bar. Repeat for the rest of the images.
b. Select all the images in the animation bar. Hover over the seconds and right-click, which will give you the option of selecting how long you want each image to flash for. I chose .5 seconds for the image of Bella jumping.
8. Under the Edit menu, select Save as Optimized file…
9. Done!
The directions are garbled because I don’t know all the lingo – but I’ll post improved directions as I learn.
